I would like to discuss in this post the glue we use and why. For 12 years Cindy has been using Titebond Premium Wood Glue to glue the pegs into the looms. We try to have enough glue to seal around the peg but not too much so it looks globby. We dip each peg in glue and then hammer it into the hole. We can not use gorilla glue, or super glue due to the fact Cindy has sever asthma and is allergic to these glues. Though wood glue does not melt the plastic the way the other glues do to make them adhere, we have always had success using the wood glue. With regular use the pegs should stay in place for a good long time, but if your loom gets dropped, wet, superhot, etc.. the bond may break between the glue and the peg and it could come out. Also if you wiggle the pegs back and forth you will indeed break the bond and they will eventually come out.
You can easily fix your loom by applying another drop of wood glue,super glue, gorilla glue, or e6000 craft glue and then letting it dry for 24-48 hours. We try to make a very high quality product. Each peg is hand glued...(NOT BY MACHINE) so at times there may be a few pegs that did not get quite enough glue. So if a peg pops out feel free to re-glue it with whichever glue you prefer and then keep looming. We do not profess to have an indestructible product, but we are working hard to try and have them be very sturdy and usable.
We have some customers that prefer to have their looms sent without the pegs glued in so that when they arrive with the empty looms and different color pegs in baggies they can put them in certain peg designs for patterns and either glue them in themselves (with their preference of glue), or just keep them loose so they can change the peg patterns when they want. If anyone one would prefer their looms sent this way you may request by email or in the notes section of your order.
If at any time you have a concern about your loom, please contact us by phone or email and we would be happy to assist you.
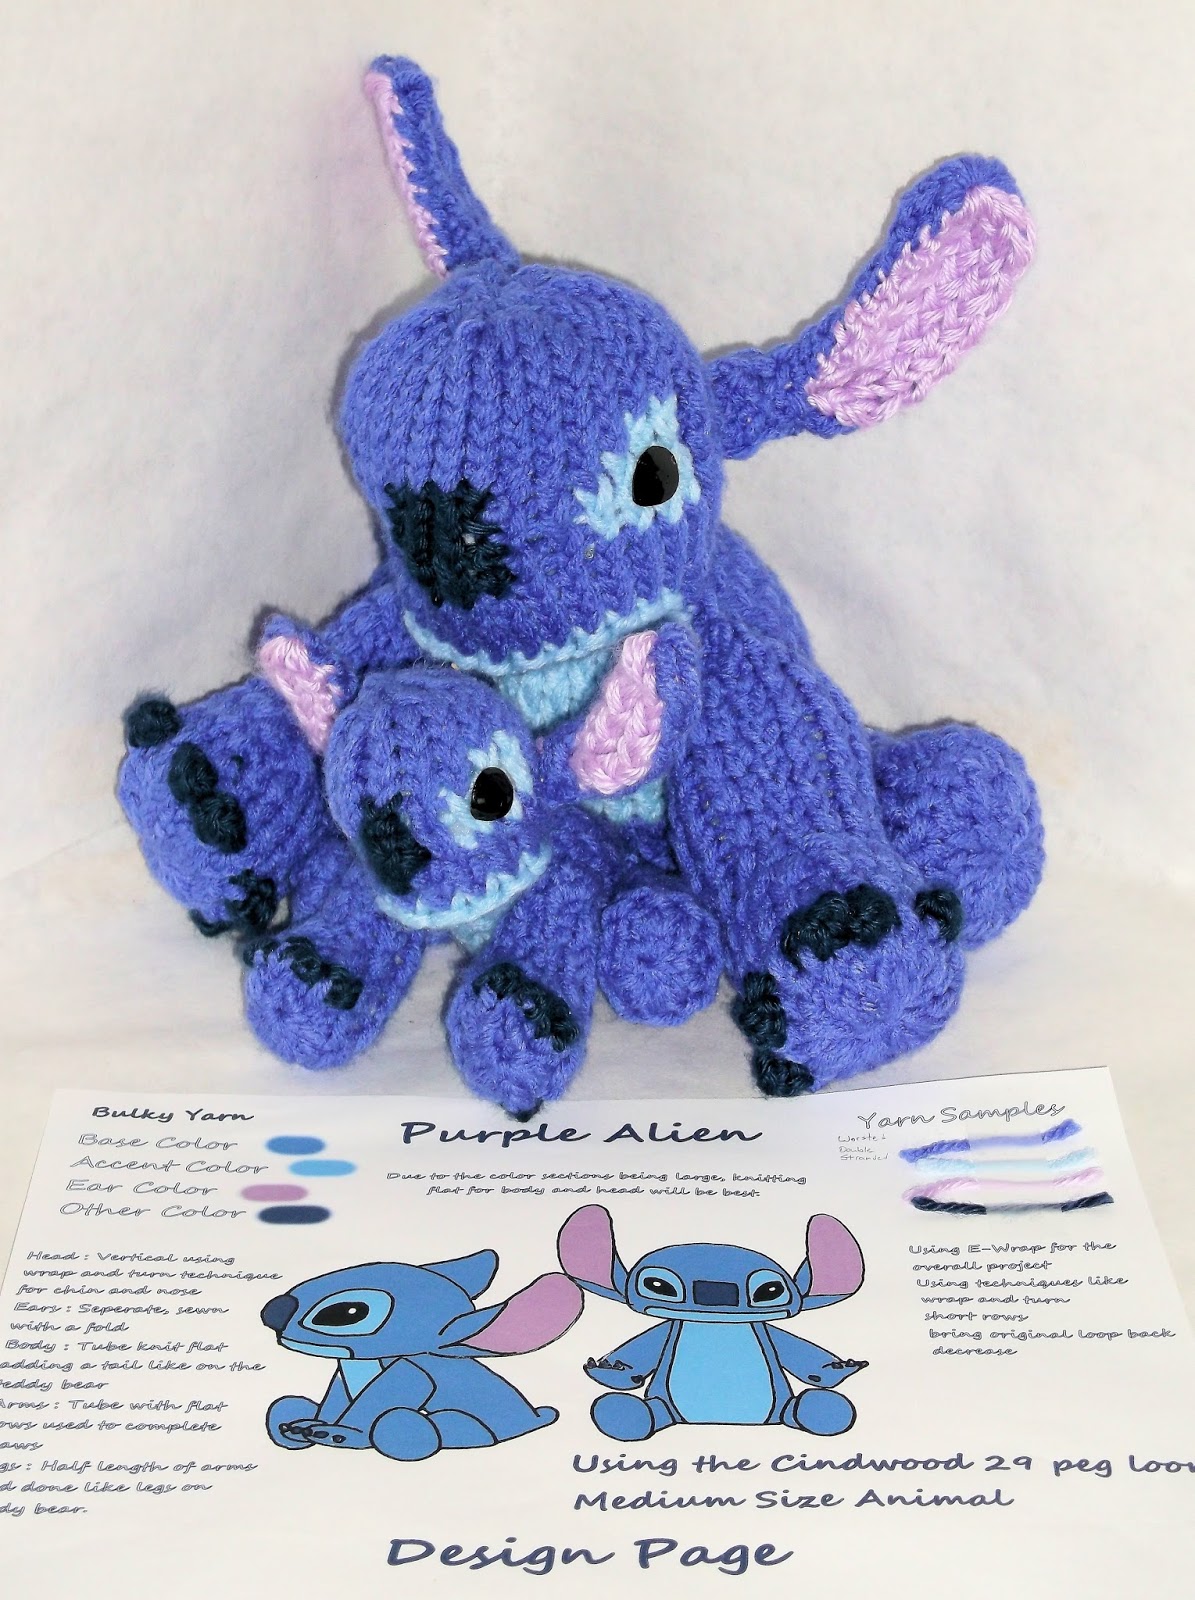
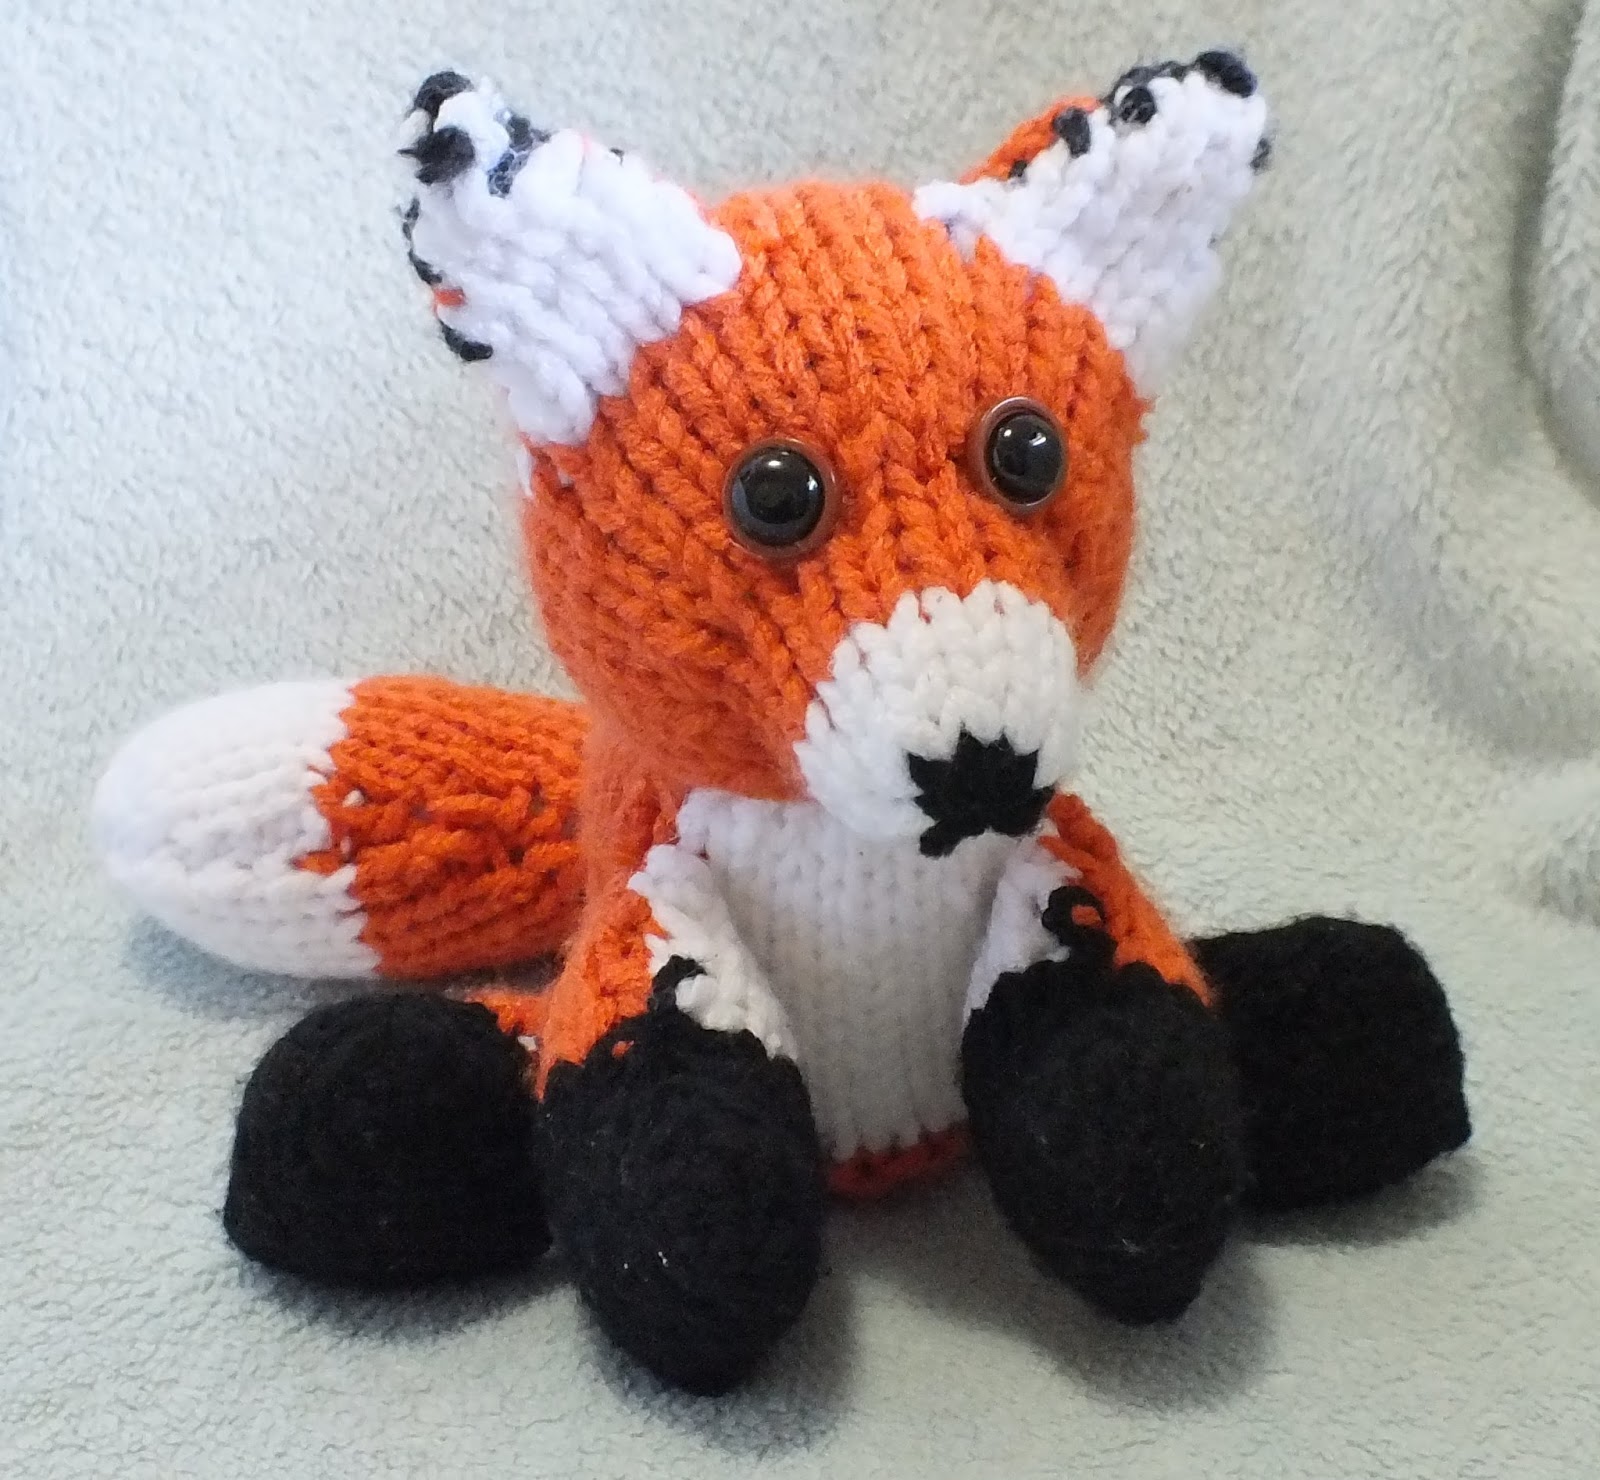
When creating stuffed animals there are a number of techniques that are great for creating stuffed animals without having to sew on smaller areas like snouts, ears, tails, and things alike. So below is an array of examples that follows the techniques that are useful in creating stuffed animals. Plus at the end of this blog will link all the CinDWood Looms that will work with all these projects!!!!
Also feel free to take a look at my 5 part tutorial to help see a step by step in creating your own stuffed animals.
Short Rows
The first technique to
keep in mind are your short rows, this is the process of knitting flat a
certain number of pegs back and forth, this is creating an area that
extends past the rest of the work. This is a great technique for ears,
horns, legs, and tails. Plus if you incorporate my crocodile stitch you
can create hair for manes and such. See the videos and examples below
for this technique as an example.
Wrap and Turns
When doing the wrap and turn technique which is exactly like working a heel in a sock. You knit to a point, and then wrap and turn the next peg, work over to the other side, then wrap and turn the next peg. This is worked flat, and in ways considered a short row but different. This techniques allow you room to add a curved back or add a belly. It creates a curve and change of angle. Examples below of uses of this technique.
Internal Decrease
This technique creates snouts and sinches a specific area. It means decreasing every other peg, and then knit or e-wrap the loops together, and then bring the loops side by side, and tighten your loops. This technique is also good for creating wings, and places in a body that need an indentions. Examples below.
Decreasing and Increasing
Decreasing as the ends of rows is important when narrowing down to a tail, and creating feet when working flat. Increasing by wrapping the next peg over, is important making width to a short row to widen a ear, or create a fin.
Peg Doubling
The technique of working 2 stitches seperately on 1 peg, which allows more stitches on a loom than there are pegs, and this can allow you to decrease later to keep working circularly to create a face with cheeks, or make a more ball like head.
Combo Techniques
When combining the Wrap and Turn technique with the Internal Decrease technique you can create the neck that upturns for animals like giraffes, horses, and many farm animals.
Combinng Short Rows with Increasing can make a more shaped ear for rabbits, cows, and other animals where the ears are larger in the middle and long.
This technique is used for when you would like to stuff your animal firmer and puts the stitching tighter together. It is the object of having 2 layers of stitches on the pegs at all times, and with every fresh wrap only tossing the bottom loop over the top 2 loops.
Gathering a cast on can create shape as well, when needing an indention without being able to do an Internal Decrease. This is as simples as weaving a needle through your cast on stitches and pulling the thread from the needle to a point that you get the shape you are after, then sewing it down to your other parts. Draw string cast on or off creates a closure with gathering as well.
Half color change is knowing how to take chunks of color on one half and the other half a different color and not have to cut and tie off every row and not a extra yarn. This is done by taking 1 color and always taking it under the other color on either side you are meeting up. You are also typically working flat when doing this. The best way to keep up with your rows, is when the working ends of each color meet up that counts as a row. This is a wonderful technique for using a different color for the belly of a stuffed animal.
Bring the Original Loops Back
This technique is good to keep you from having to sew up small areas like smaller ears, tails, fingers, and other parts of animals. This works heavily with the Crocodile Stitch on the looms. It isn't necassary but it is great for those who hate sewing.
Creating in One Piece
This is the ability to take most of these techniques and put them into one with as will sewing as possible. This is using things like, drawing string cast on, short rows, bring original loops back, wrap and turn, interenal decreasing, working from circular to flat, and draw string cast off. Check this examples out.
Other Last Notes
Don't hesitate to use purls and knits together to create textures for the animal skin. Also for hair you can do a variety of techniques to create hair some are fast and or slower but you might need more or less depending on your project. Most of all play, use other pattern examples to create your own, have fun.
Don't have to buy your eyes, make them, here is a link for making eyes. Also instead of melting beads you can buy rhinestones that are 10, 12, and 14mm in black and glue them into buttons as well.